
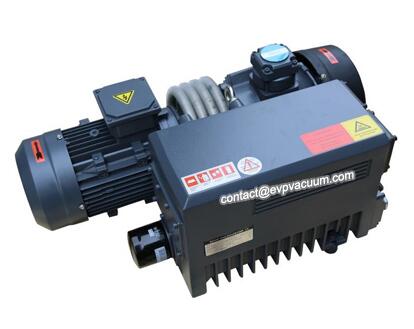
rotary vane vacuum pump cleaning and assembly
Rotary vane vacuum pump is a new type of equipment. When we reach the time of use, the dust in the air will cover it. At this point, disassembly and internal and external cleaning are required. Now let’s understand the precautions when cleaning and assembling the rotary vane vacuum pump.
Rotary vane vacuum pump before assembling:
(1) First install the high vacuum end, clean and dry for assembly. Lift the spring rotor and install it in the high rotor. Then put it into the high vacuum chamber, install the front panel, install the locating pin, and tighten the screws evenly.
(2) After the vacuum pump is assembled, it should rotate flexibly, easily and evenly. Then install the low vacuum rotor and the rear end cover. The slot of the low rotor should face the rear end plate. When installing the exhaust valve, the exhaust valve plate shall be close to the valve plate and other parts.
2. When assembling the rotary vane vacuum pump, attention shall be paid: all rotating parts shall be coated with vacuum oil. It is strictly forbidden for iron chips, mud, sand and dust to fall into the pump. The locating pin should be in good contact. The installed pump shall be able to rotate easily and the rotating weight shall be uneven without blocking.
3. Attention shall be paid to the position, direction and combination tightness of all components during disassembly. The removed parts shall be placed separately and shall not be mixed for wear.
4. Check all parts of the rotary vane vacuum pump to see if they are worn, rough or damaged. Repair or replace them as appropriate.
5. Please note that if large scratches are found on the front end plate and rear end plate, this means that the rotor is not perpendicular to the middle diaphragm during assembly, and the locating pin should be adjusted. If it is too serious, it should be repaired or replaced.
6. Remove the pump from the vacuum system. First remove the low vacuum end, remove the rear end plate, then remove the low vacuum rotor and key, then remove the front end plate, remove the vacuum pump rotor and rotor. Spring, etc. Remove the sight glass, exhaust valve and exhaust cover, and thoroughly clean all parts with gasoline or alcohol.
7.after assembling the rotary vane vacuum pump, add oil from the air inlet and oil filling hole respectively, install the oil into the horizontal line of the sight glass, and then conduct the test.
Vacuum equipment such as rotary vane vacuum pump need to be disassembled during cleaning. When we finish cleaning and air drying, we need to assemble according to the procedure, which can save time greatly, prolong the service life of vacuum pump equipment, and improve work efficiency.